My Underwater Photography Setup 2025: From Documentary Dreams to Reality
After transitioning from terrestrial photography in 2021 to underwater work in 2024 for my vaquita documentary, I've learned that gear choices underwater are completely different. Here's exactly what I use and why...
When I switched from terrestrial photography in 2021 to underwater work in 2024, I had no idea how different the gear game would be. Everything changes when you add water to the equation: the camera needs protection, your movements become deliberate, and suddenly that expensive lens becomes a potential anchor if something goes wrong.
My journey into underwater photography wasn't gradual. It was driven by purpose: documenting the vaquita, the world's most endangered marine mammal, for my first conservation documentary. This meant I needed reliable, professional-grade equipment that could handle the challenging conditions of the Sea of Cortez while being manageable for freediving work.
After months of research, countless gear reviews, and some expensive learning experiences, here's exactly what's in my underwater photography kit – and more importantly, why each piece earned its place.
The Heart of My Setup: Sony A7IV
Why I Chose Full-Frame for Underwater Work
The Sony A7IV wasn't my first choice – I initially considered crop sensor cameras for their "reach" underwater. But after talking with conservation photographers and testing different setups, full-frame became the obvious choice:
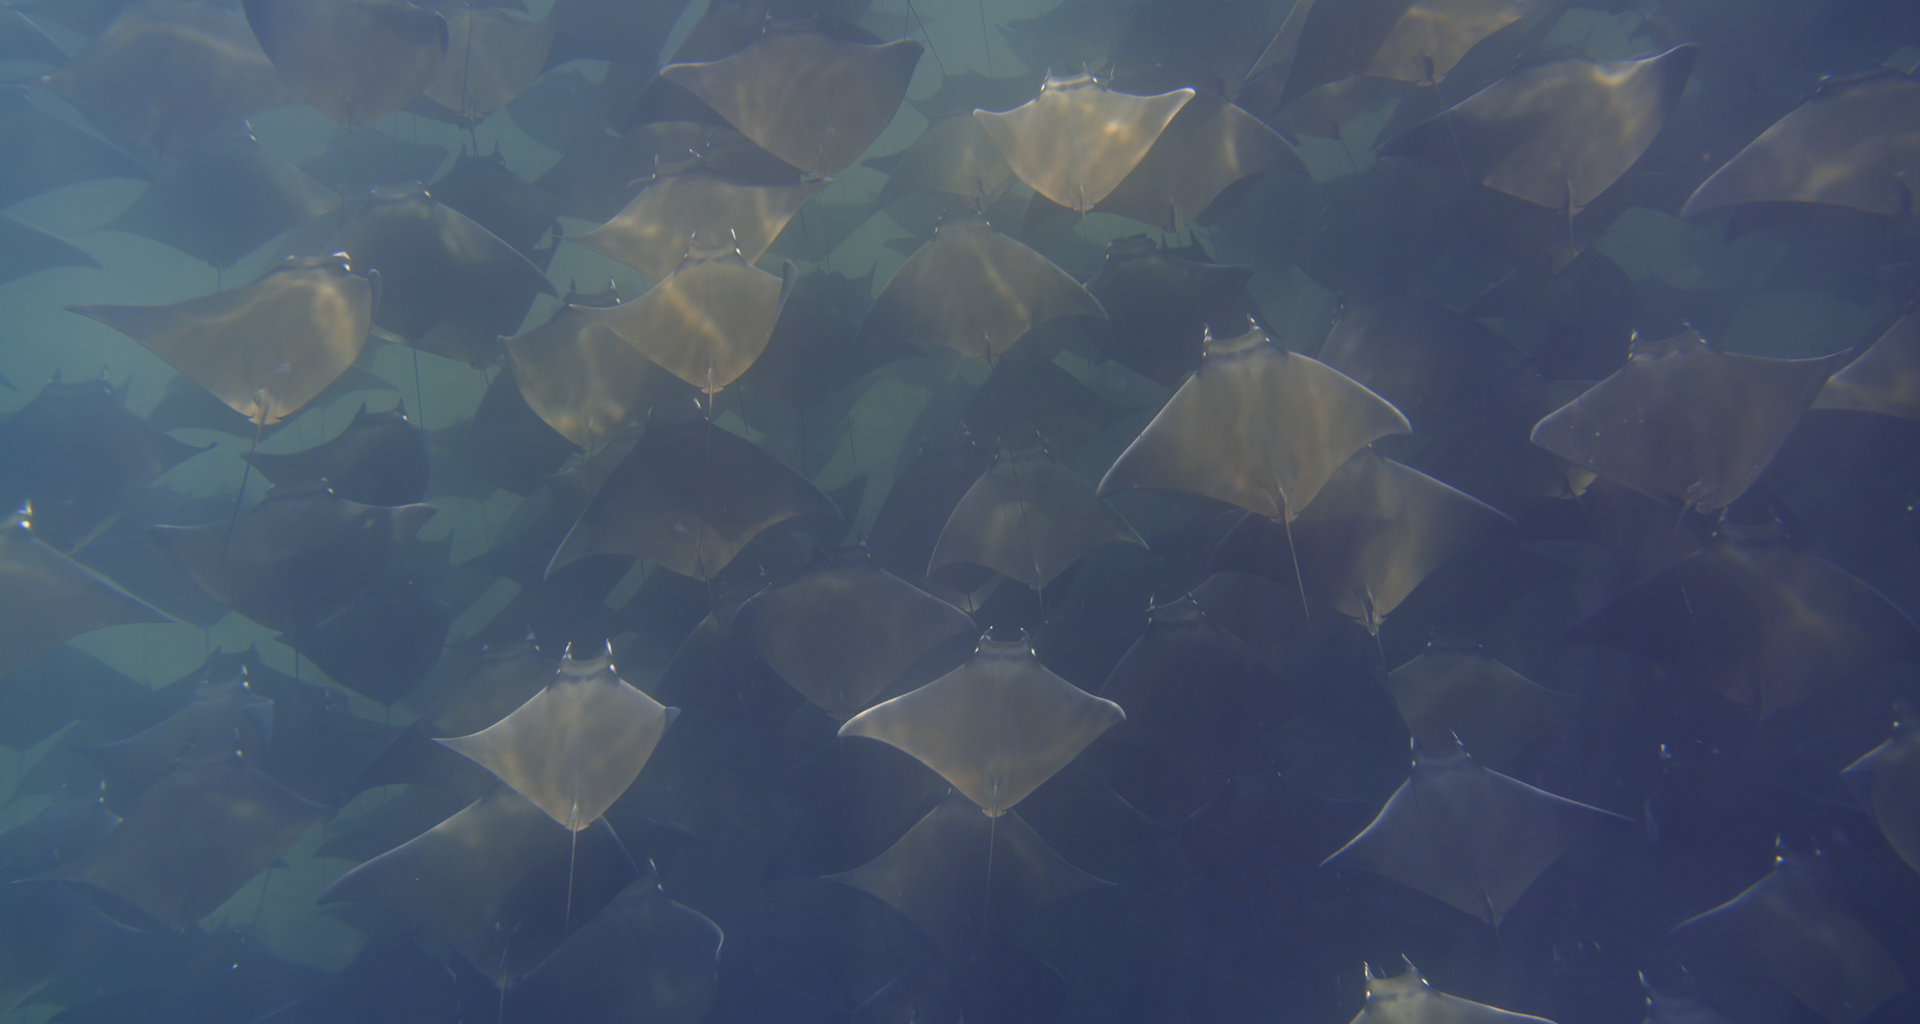
Low-Light Performance: Water absorbs light rapidly. By 30 feet, you've lost significant natural light, and the A7IV's sensor handles high ISOs beautifully. During my mobula ray shoots in La Ventana, Baja California, I was consistently shooting at ISO 800-1600 in deeper water with clean, usable results.
Dynamic Range: Underwater scenes often have extreme contrasts – dark subjects against bright blue water, or silhouettes against sun rays. The A7IV's 15 stops of dynamic range give me flexibility to recover details in post-processing without the image falling apart.
Battery Life: This was crucial for my documentary work. Freediving sessions can last 2-3 hours, and the last thing you want is your camera dying mid-shoot. The A7IV consistently gives me 400+ shots per battery, even with the LCD screen active underwater.
Custom Button Setup for Underwater Use
Underwater, your controls need to be instinctive. Here's how I've configured my A7IV:
C1 Button: ISO adjustment (most common change needed at depth)
C2 Button: White balance switching (daylight to underwater presets)
C3 Button: Focus area switching (wide to spot for different subjects)
Center Button: Magnification for precise focus confirmation
Pro Tip: Practice these settings changes on land until they're muscle memory. Underwater, you can't afford to fumble with menus.

Protection That Actually Works: Seafrog A7IV Housing
Why Not Nauticam or Aquatica?
Let's be honest, Nauticam housings are the gold standard, but they're also $3,000+ for the body alone. As someone transitioning into underwater work for a documentary project, I needed professional results without the professional price tag.
The Seafrog housing offers 90% of the functionality at about 30% of the cost:
Build Quality: CNC-machined aluminum construction with proper anodizing. After six months of saltwater use, including the challenging conditions documenting vaquitas in Mexico, it still looks and functions like new.
Depth Rating: Rated to 40 meters (130 feet), which exceeds my freediving limits by a comfortable margin. For scuba work, this covers most recreational diving scenarios.
Control Access: Every essential A7IV control is accessible through the housing. The ergonomics aren't quite as refined as Nauticam, but for documentary work, functionality trumps luxury.
Real-World Performance
During my three weeks in Baja California, this housing performed flawlessly:
Temperature Range: From 60°F night dives to 95°F surface intervals
Wave Action: Handled rough surface conditions during mobula encounters
Daily Use: Easy disassembly for battery/card changes between freediving sessions
Maintenance Reality: Saltwater is unforgiving. After every dive day, I spend 15 minutes rinsing, drying, and lubricating O-rings. This housing makes that process straightforward – no complex disassembly required.
The Lens That Does Everything: Sony 24-105mm F4 G Master
Why One Lens for Underwater Work
Underwater, changing lenses isn't an option like it is on land. Your lens choice commits you for the entire dive. The 24-105mm F4 covers the focal range I need for conservation documentary work:
24mm Wide-Angle: Essential for environmental context shots. When documenting vaquita habitat in the upper Gulf of California, I needed to show the expansive, seemingly empty waters where these porpoises struggle to survive.
50-85mm Range: Perfect for individual animal portraits. The mobula rays in La Ventana allowed close approaches, and this focal length captured their grace without the distortion of ultra-wide angles.
105mm Telephoto: Crucial for skittish subjects or maintaining respectful distances. Marine mammals deserve space, and longer focal lengths let me document behavior without interference.
The F4 Advantage
Constant F4 aperture simplifies underwater exposure calculations. Whether I'm zoomed to 24mm for a reef scene or 105mm for a distant subject, my depth of field calculations remain consistent. This matters when you're holding your breath and have seconds to compose and shoot.
Dome Port Considerations
The Seafrog dome port for this lens handles the water/air interface well, though there's slight distortion at the extreme corners when shooting at 24mm. For documentary work, this is easily corrected in post or avoided through composition.
What's Missing (And Why I Haven't Added It Yet)
Strobe Lighting System
I'm currently shooting with available light only, which limits me to the upper 30 feet of the water column. A dual-strobe system is my next major investment:
Planned Setup: Two Seafrog strobes with adjustable arms Budget Consideration: Quality strobes cost $800-1,500 each Current Workaround: Shooting during optimal light conditions and relying on post-processing for color correction
Macro Capability
For detailed conservation documentation, macro photography of small marine life indicators would be valuable:
Missing Piece: Dedicated macro lens and flat port system Alternative: The 105mm end of my current lens provides limited close-focusing ability
Backup Camera System
Professional documentary work really requires backup equipment:
Current Risk: Single point of failure if housing floods or camera fails Planned Solution: Compact backup system (possibly GoPro or compact mirrorless)
Total Investment and Budget Reality
Let me be transparent about costs, because this information was impossible to find when I was starting:
Initial Investment:
Sony A7IV Body: $2,498
Sony 24-105mm F4 GM: $1,298
Seafrog A7IV Housing: $899
Seafrog Dome Port: $299
Safety Lanyards & Accessories: $156
Spare O-Rings & Maintenance: $78
Total: $5,317
What I'd Do Differently on a Smaller Budget:
Start with Sony A7III: Save $500 without major performance loss
Consider Sony 28-70mm Kit Lens: Adequate for learning, saves $800
Buy Used Housing: Seafrog holds value well, could save $200-300
The minimum viable setup for serious underwater photography runs about $3,500-4,000. Anything less compromises either image quality or equipment safety.
Maintenance and Care: The Unsexy but Essential Part
Daily Routine (During Dive Trips):
Immediate Rinse: Fresh water rinse within 30 minutes of last dive
Disassembly: Remove camera, check for any water intrusion
O-Ring Inspection: Visual check for damage, dirt, or deterioration
Drying: Complete air-dry before reassembly
Weekly Maintenance:
Deep Clean: Disassemble all accessible parts for thorough cleaning
O-Ring Lubrication: Light silicone grease application
Function Test: Test all controls and seals
Annual Service:
Professional Inspection: O-ring replacement and pressure testing
Cost: Approximately $150-200 annually
Reality Check: Maintenance takes time, but it's non-negotiable. I've seen $5,000 setups destroyed because someone skipped the 10-minute post-dive cleaning routine.
Looking Forward: Next Upgrades
Short-Term (Next 6 Months):
Dual Strobe System: Seafrog strobes with flexible arms ($1,600)
Macro Port Setup: For detailed conservation documentation ($600)
Backup Camera: Compact mirrorless or action camera ($800)
Long-Term (1-2 Years):
Housing Upgrade: Possibly Nauticam for expanded lens compatibility
Lens Expansion: Dedicated wide-angle and macro lenses
Video Capabilities: Adding underwater video to documentary toolkit
Final Thoughts: Gear Serves the Mission
This setup represents countless hours of research, significant financial investment, and real-world testing in challenging conditions. But here's what I've learned: the best underwater photography equipment is the gear that disappears, letting you focus entirely on the story you're trying to tell.
Whether you're documenting endangered vaquitas or simply exploring your local reef, your equipment should enhance your ability to connect with and share the underwater world. This setup does that for me – it's reliable, capable, and most importantly, it gets out of the way when I need to focus on conservation storytelling.
The ocean doesn't care about your gear specs. It cares about your respect, preparation, and commitment to sharing its stories responsibly. This equipment helps me do exactly that.
Ready to dive deeper into underwater photography? Check out my posts on [Sony A7IV Underwater Settings Guide] and [Freediving Photography Techniques] for more detailed technical information, or read about [My Vaquita Documentary Project] to see this equipment in action for marine conservation.
Questions about this setup or underwater photography in general? Reach out through my contact page – I love connecting with fellow underwater photographers and conservation advocates.